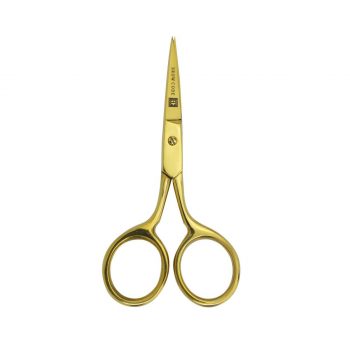
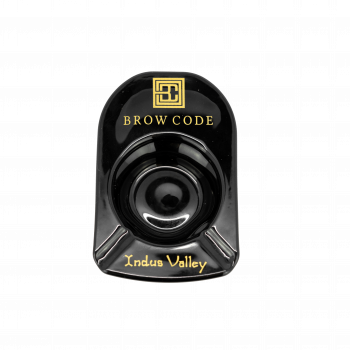
Description
INSTRUCTIONS:
1. Mix
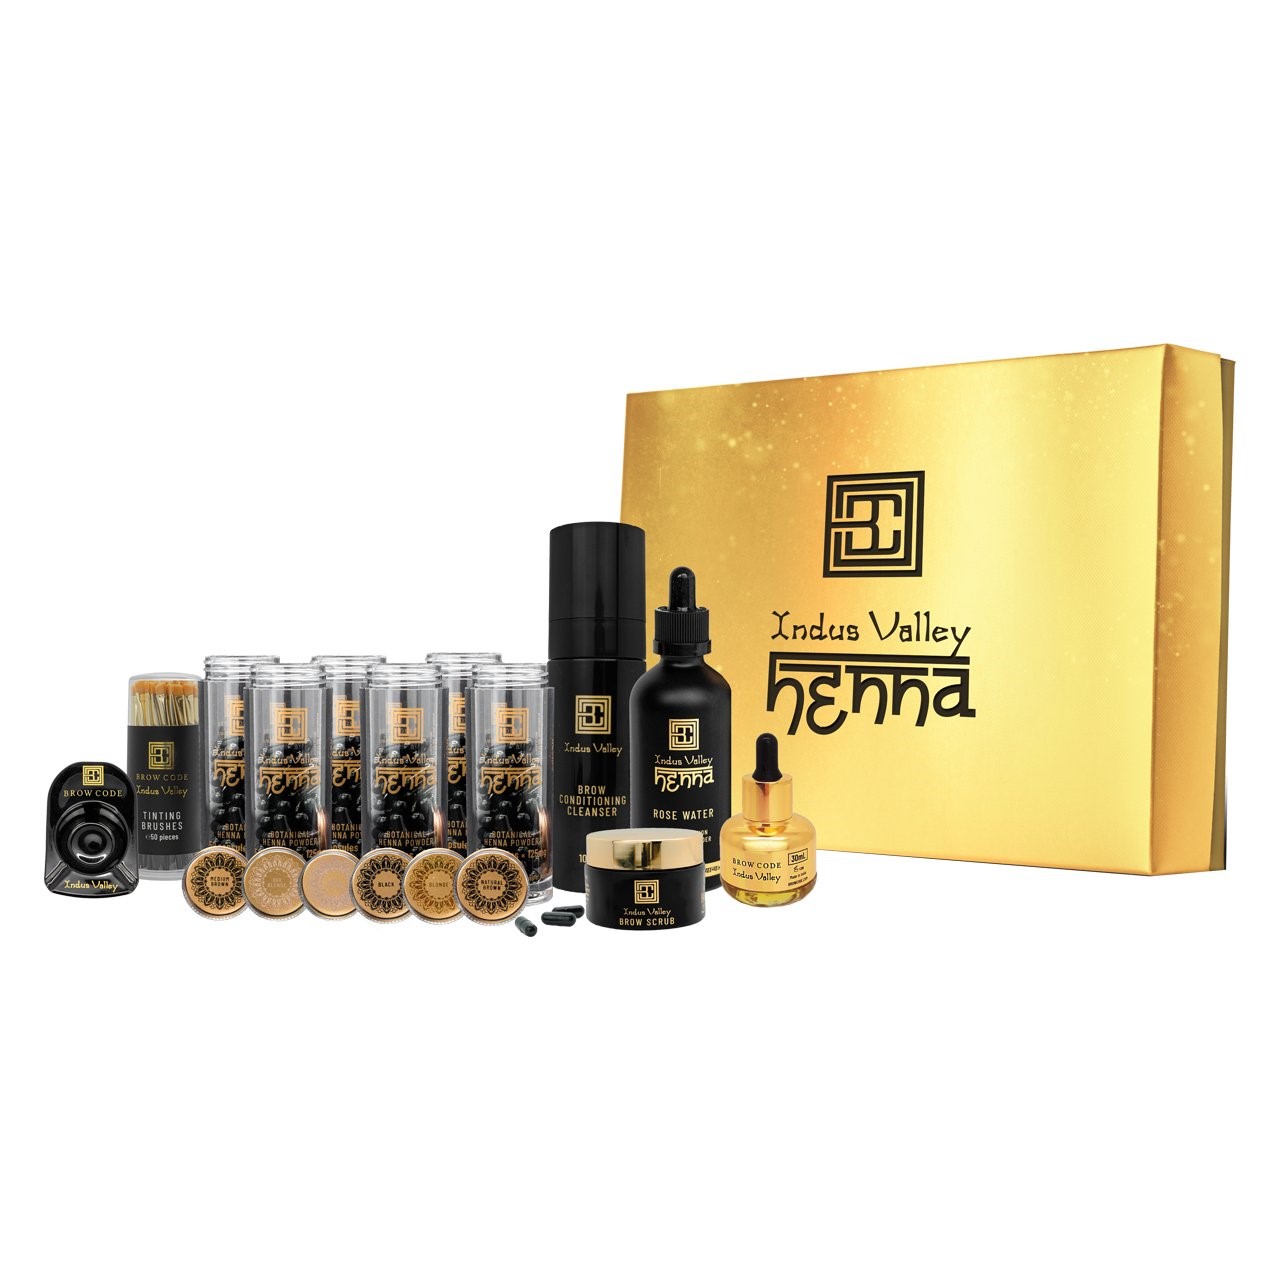
Break open and mix the capsule of desired BCIV Henna colour with 12-15 drops of the BCIV Rose Water. Set the mixture aside for 5-10 mins to allow the henna powder to form a smooth, strong paste.
2. Cleanse
Cleanse the brows using BCIV Brow Conditioning Cleanser. For oily skin types or when removing heavy makeup, work your fingertips in a circular motion to deeply cleanse the brow hairs and surrounding skin.
3. Exfoliate
Exfoliate the brow area using the BCIV Brow Scrub. It is essential to remove any build-up of dead skin cells to allow the henna to create a more even and longer lasting stain.
4. Apply
Apply the first layer of henna. The first layer can be applied thinly for a fast application. When applying the second layer, allow more time spent on your second application for perfecting the brow shape, defining crisp lines and applying a thicker layer of henna for an extended processing time. For stubborn hairs, a third layer can be applied. Continue activating the henna by applying a thin layer of Rose Water over the top while processing.
5. Remove
Remove the henna by soaking each brow with a dampened cotton round using BCIV Rose Water. Soak each brow until the dried henna becomes a paste again then wipe away the excess henna.
6. Nourish
Treat the brows by massaging the BC Brow Gold oil into the brow hairs and the skin. The Brow Gold helps to lock in the colour for a longer-lasting stain whilst adding extra nourishment and shine to each hair, creating fuller, healthier brows.
7. Advise
Advise the best-suited aftercare. Ensure the client keeps the area dry for 24 hours post service and applies BCIV Brow Gold Oil daily to help maintain the finished look.
Does Henna last longer than brow tint?
Yes, however – We always recommend offering both treatments in your brow studio or salon as the client may have a preference or find one or the other better and longer lasting. Everyone’s skin is different.
Henna Vs Brow Tint:
Some people can be allergic to either product so we always recommend stocking both and giving your client the options to try both and work out what they prefer. Price point and time: Henna takes longer to perform but lasts slightly longer on the skin
Indus Valley Henna Tips from Melanie:
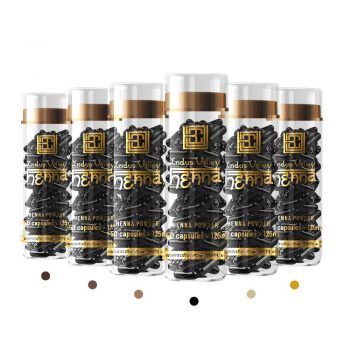
- Indus Valley Brow Code Henna comes in 5 ready to mix shades in capsule form. You are able to mix all shades together to create your very own variations to suit your clients desired colour.
- Brow Henna was created to stain the hair for up to 4-6 weeks. It also comes with an added bonus that it can stain the skin for anywhere between 7-12 days.
- Mix the henna paste 5-10 minutes PRIOR to use. This will prepare the formula for a smooth application. This also helps to ensure the green to yellow glow is not as prominent whilst the product is developing.
- For clean and flawless results; wax using Brow Code Design and Define hot wax, tweeze or thread prior to application. Ensure application is strictly inside the desired shape if hair has been removed.
- There is enough capsules to perform 300 sets of Brow Code brows – However you will need to re stock your Rose Water and scrub depending on how much of this product you use.
- Ensure the brow area has been thoroughly cleanses and scrubbed prior to henna application. This will assist with a longer lasting stain on the skin.
- Keep the brow area dry and free of any products for 24 hours after the Brow Code henna application to ensure you get the best possible stain
- All patch tests must be performed 48 hours prior to henna application. Use one of the darker colours when performing this test patch.
- To achieve an even longer stain on the skin, you can also ask your client to gently scrub the brow the night before their henna treatment. Once the dead skin cells are removed, the henna will stick and stain longer to the new ones.
- There must be no sunless tan/self tanners used on the skin prior to Brow Henna application. This will turn the henna a green or yellow shade
- If your Henna dries fast during the application, you can use a mister to moisten up the area for a easier removal. When you go to remove the product, ensure your cotton pad is very moist. Let this sit on the skin for a few minutes to loosen the henna.
- For a flawless and even application first outline the brow shape with henna. Make sure there are no ridges as this will result in an uneven result.
- The consistency is one of the most important factors of Henna application; The paste should not be too thick as it will result in a patchy, uneven stain. Add small amounts of Rose Water as you need to ensure your mixture remains even and smooth. The Henna should glide off the brush and be soft and easy to apply.
- What are the circle/spheres in the formula? It is hard to mix?? These spherical grains a key component to our unique Henna formula which is approved and compliant to the highest standards in EU and AU. These grains should almost completely be broken by the time you go to apply. You can also break them up by pressing on them with your brush to disperse the ingredients into the formula.
- Take your time to perform a very even, precise application. You can try layering 2-3 times for 10-15 minutes or one application for 20-25 minutes and see which gives you the deepest results. When layering – You must wait for this to completely dry before adding your new layer and then wait until all 3 layers are dried together prior to removing. Once all 3 layers are finished/dry, reactivate the top layer by applying Rose Water for a smoother removal.
